Colliemom's Trailer Modifications, Part 1
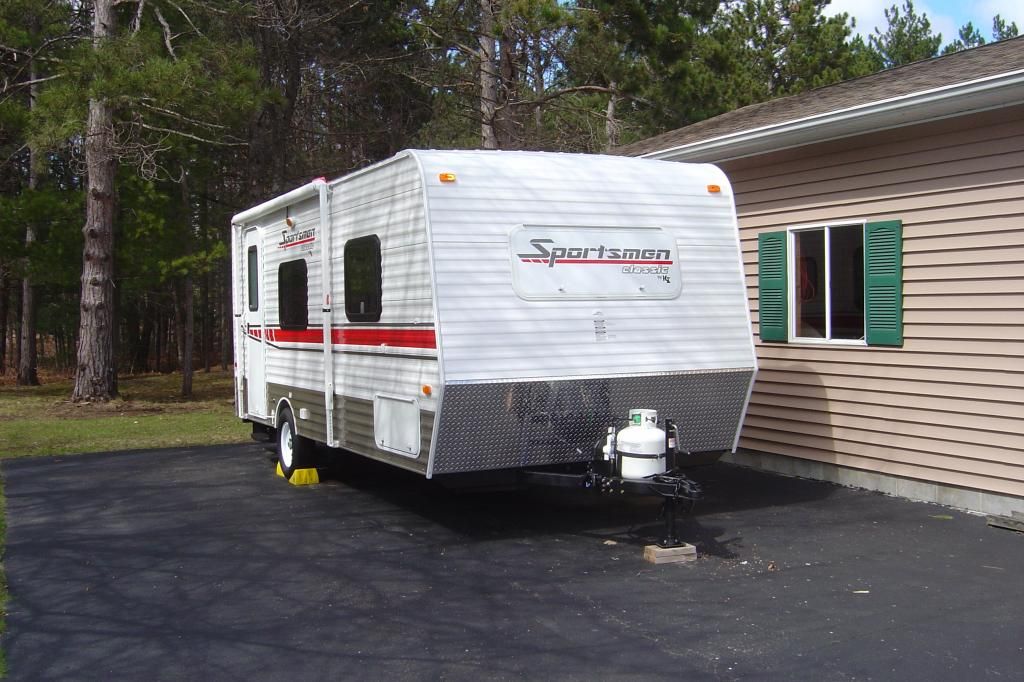
Here are the pictures from this past weekends modifications to my dinette and also my bed. For those of you who are new, the trailer being modified is a 2014 Sportsman Classic 190.
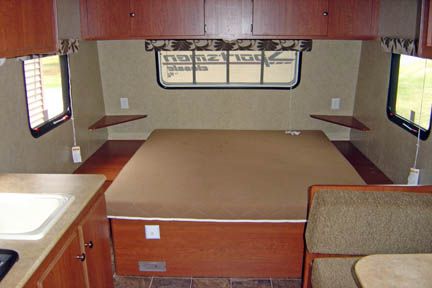
This is the bed area with the existing mattress, which as all of us know, really aren't worth much in these rigs
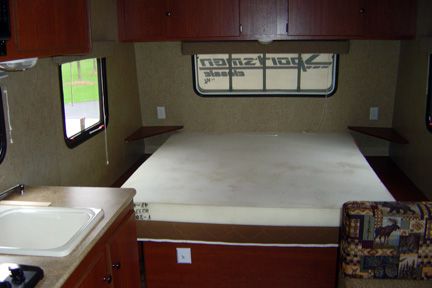
It now has a new foam mattress on top of the existing one, making it 7 inches thick. The foam is a high density rubber based foam, and not latex based, more durable and much firmer.
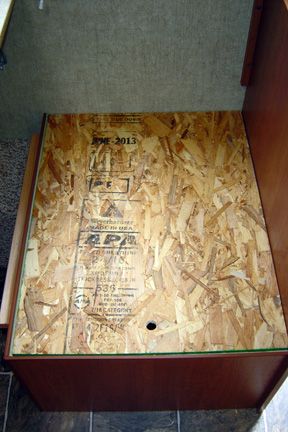
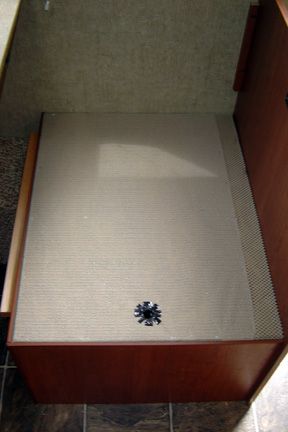
Before we tackled the bed mattress which had to be cut to size, the dinette was the major project of the weekend. I started out by taking the waferboards under the dinette seats out and covering them with non skid shelf rubber to keep the cushions from catching on the wood as well as splinters in my fingers. Put some duct tape around the hole edges as well.
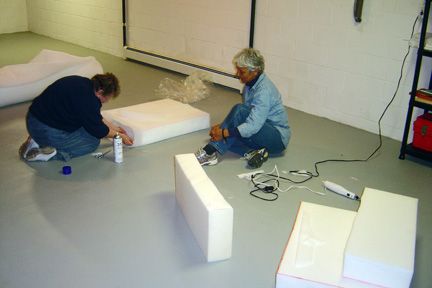
My friend Brenda measured and cut the pieces of foam, in this case, more of the high density foam, only 5 inches thick, with a turkey knife and then covered them in a layer of batting to protect the foam from being rubbed by the cushion material. Since Carolb was here, she was an attentive student..
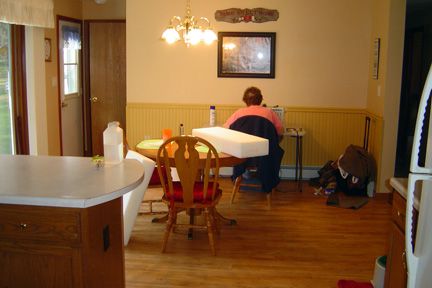
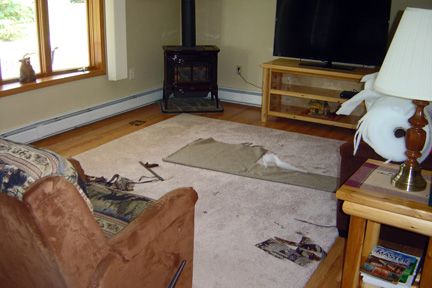
She set up shop in my kitchen area to sew the new covers. Course like any project, the kitchen and living room were disaster areas,
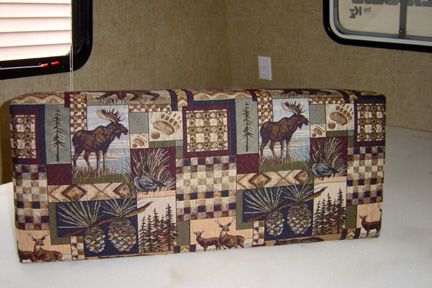
The new dinette back cushions. We left the bottom ones in the original covers and replaced the foam with the 5 inch high density foam, much better sitting. Carolb can attest to that as she tried it out.
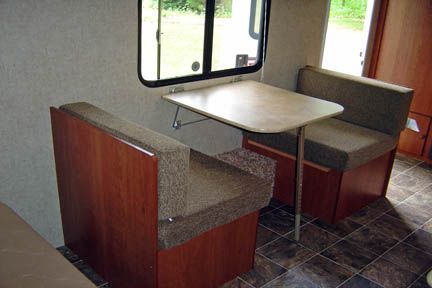
The dinette before the changes with the original material and cushions
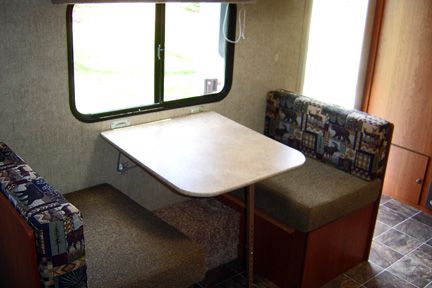
The Dinette after the new cushions were finished and also with some fabric added, two more cushions were made, so now I can use the dinette as a dinette
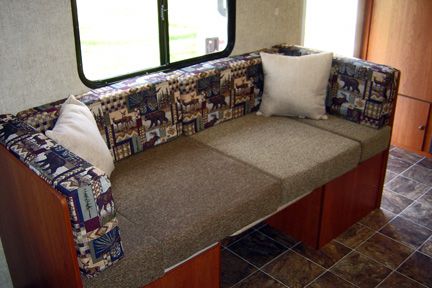
or with a couple of throw pillows added, a nice comfty couch to curl up in on a rainy day, All the bottom cushions are the same color, the sun is making the one side look lighter in the picture.
I owe a heap of gratitude to my friend Brenda for all the work she did on those cushions. It's great to have such wonderful friends. I'm doing some more modifications and will post more pictures as I go along.

This is the bed area with the existing mattress, which as all of us know, really aren't worth much in these rigs

It now has a new foam mattress on top of the existing one, making it 7 inches thick. The foam is a high density rubber based foam, and not latex based, more durable and much firmer.

Before we tackled the bed mattress which had to be cut to size, the dinette was the major project of the weekend. I started out by taking the waferboards under the dinette seats out and covering them with non skid shelf rubber to keep the cushions from catching on the wood as well as splinters in my fingers. Put some duct tape around the hole edges as well.


My friend Brenda measured and cut the pieces of foam, in this case, more of the high density foam, only 5 inches thick, with a turkey knife and then covered them in a layer of batting to protect the foam from being rubbed by the cushion material. Since Carolb was here, she was an attentive student..

She set up shop in my kitchen area to sew the new covers. Course like any project, the kitchen and living room were disaster areas,


The new dinette back cushions. We left the bottom ones in the original covers and replaced the foam with the 5 inch high density foam, much better sitting. Carolb can attest to that as she tried it out.

The dinette before the changes with the original material and cushions

The Dinette after the new cushions were finished and also with some fabric added, two more cushions were made, so now I can use the dinette as a dinette

or with a couple of throw pillows added, a nice comfty couch to curl up in on a rainy day, All the bottom cushions are the same color, the sun is making the one side look lighter in the picture.

I owe a heap of gratitude to my friend Brenda for all the work she did on those cushions. It's great to have such wonderful friends. I'm doing some more modifications and will post more pictures as I go along.